I got in most of the hardware for the kettles and plumbing recently. Still don't have the herms coil in but that should be here in the next few days. This is all the shutoff valves, quick disconnects, tees for probe connections, compression fittings for the herms coil and all liquid return hardware. Also got the brew kettles in.
 |
| Hardware |
 |
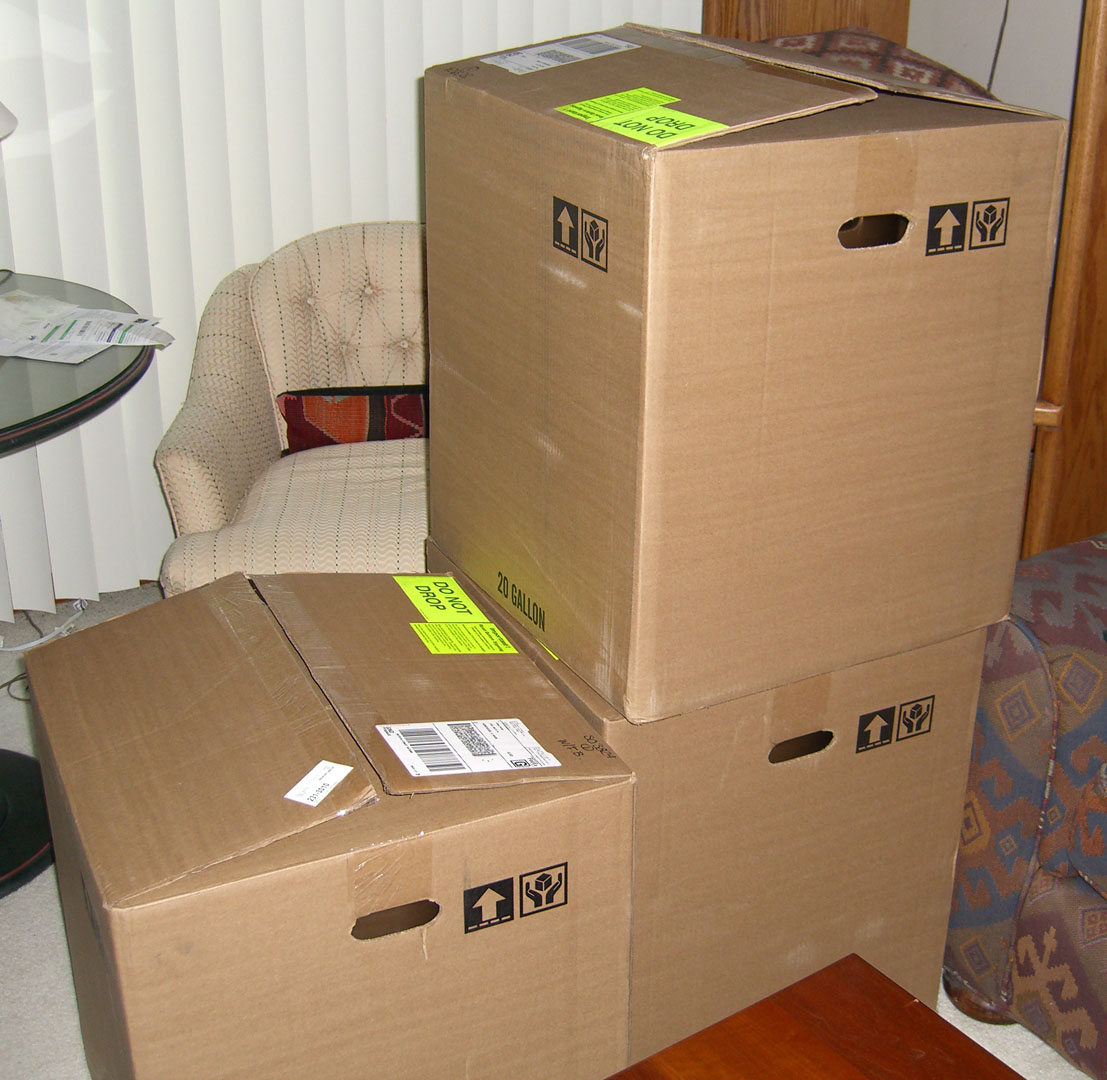
| Brew Kettles |
Sucks. I hate it. Such a mess and stink. I'd do it outside if the humidity wasn't so bad but because of it I have been in the basement. To cut down on the overspray mess the goes everywhere I built a bit of a rig to capture the spray mist. It's an old monitor carton that I have taped a furnace filter on one end. There is a box fan next to the filter that pulls the air and spray through the filter and (hopefully) captures most of it.
The enclosure came with a rough textured finish that I am not really fond of so I started by sanding the surface down to remove the roughness and make it flat but not removing all the paint. I then applied some primer. I followed that with a couple coats of gloss black paint. I carefully sanded with 1000 grit sandpaper between coats. The last black basecoat was applied very carefully because it isn't sanded. This will be followed up by a few coats of clear but I have not done that yet.
Many people add their labels using plastic tags purchased from a sign shop. I decided to try to do it a different way using water slide decals. I got some laser printable decal sheets and printed out all the labels on it. The sheet is basically one giant white decal. I printed out the labels in black leaving the text clear, which will let the white show through.
I then cut out each label with scissors as close to the lettering as I could. I wanted limit the amount of the black in the label as much as I could. Cutting through the black tended to leave a bit of the white background showing through on the edges so I used a black sharpie pen to hit the edges to cover any of the white decal showing through on the edges. This worked really well actually.

Applying the decals is pretty easy. Just soak it in lukewarm water for 30 seconds or so until you feel the decal can slide off the backing. Then slide it about a quarter of the way off and place that edge where you want it and then hold that part onto the surface and slide the backing out from behind it. When there is a layer of water under the decal you can easily slide it around to get it exactly where you want it. Then just pat it down with a clean rag or a paper towel. I also applied a layer of decal set to the surface to help the decal 'melt' onto the surface. It is not something you have to do but it helps the decal stick to the surface more. If the surface is sort of uneven or has a texture the decal set with soften the decal and make it fall down into the texture.
Here are a couple pictures after I placed all the labels on the front. I still have to do the bottom. The panel is a gloss black and it is hard to get a good picture of because of the glare. It looks sort of gray or silver in the pictures but is actually really black. You can still see the black part of the decal contrast from the surface of the panel at this point because it is more dull then the rest of the panel. There will be a layer of gloss clear that goes over the panel next that will help hide these dull areas. The clear will also protect the labels from wear as well as gloss over the dullness.
I wasn't sure how well this whole thing would work before I started and if it didn't work out I would have fallen back on going with plastic tags. So far I am really pleased with how it has worked out. In real life it looks great so far. Should look awesome once i get the clear coat on it. More to come.